Base Building 101: Planning, Stations and Defense
Published 2026-09-18Updated 2026-09-219 min read
How to build an efficient base in RuneScape: Dragonwilds — site selection, workstation layout, storage, defenses and when to relocate.
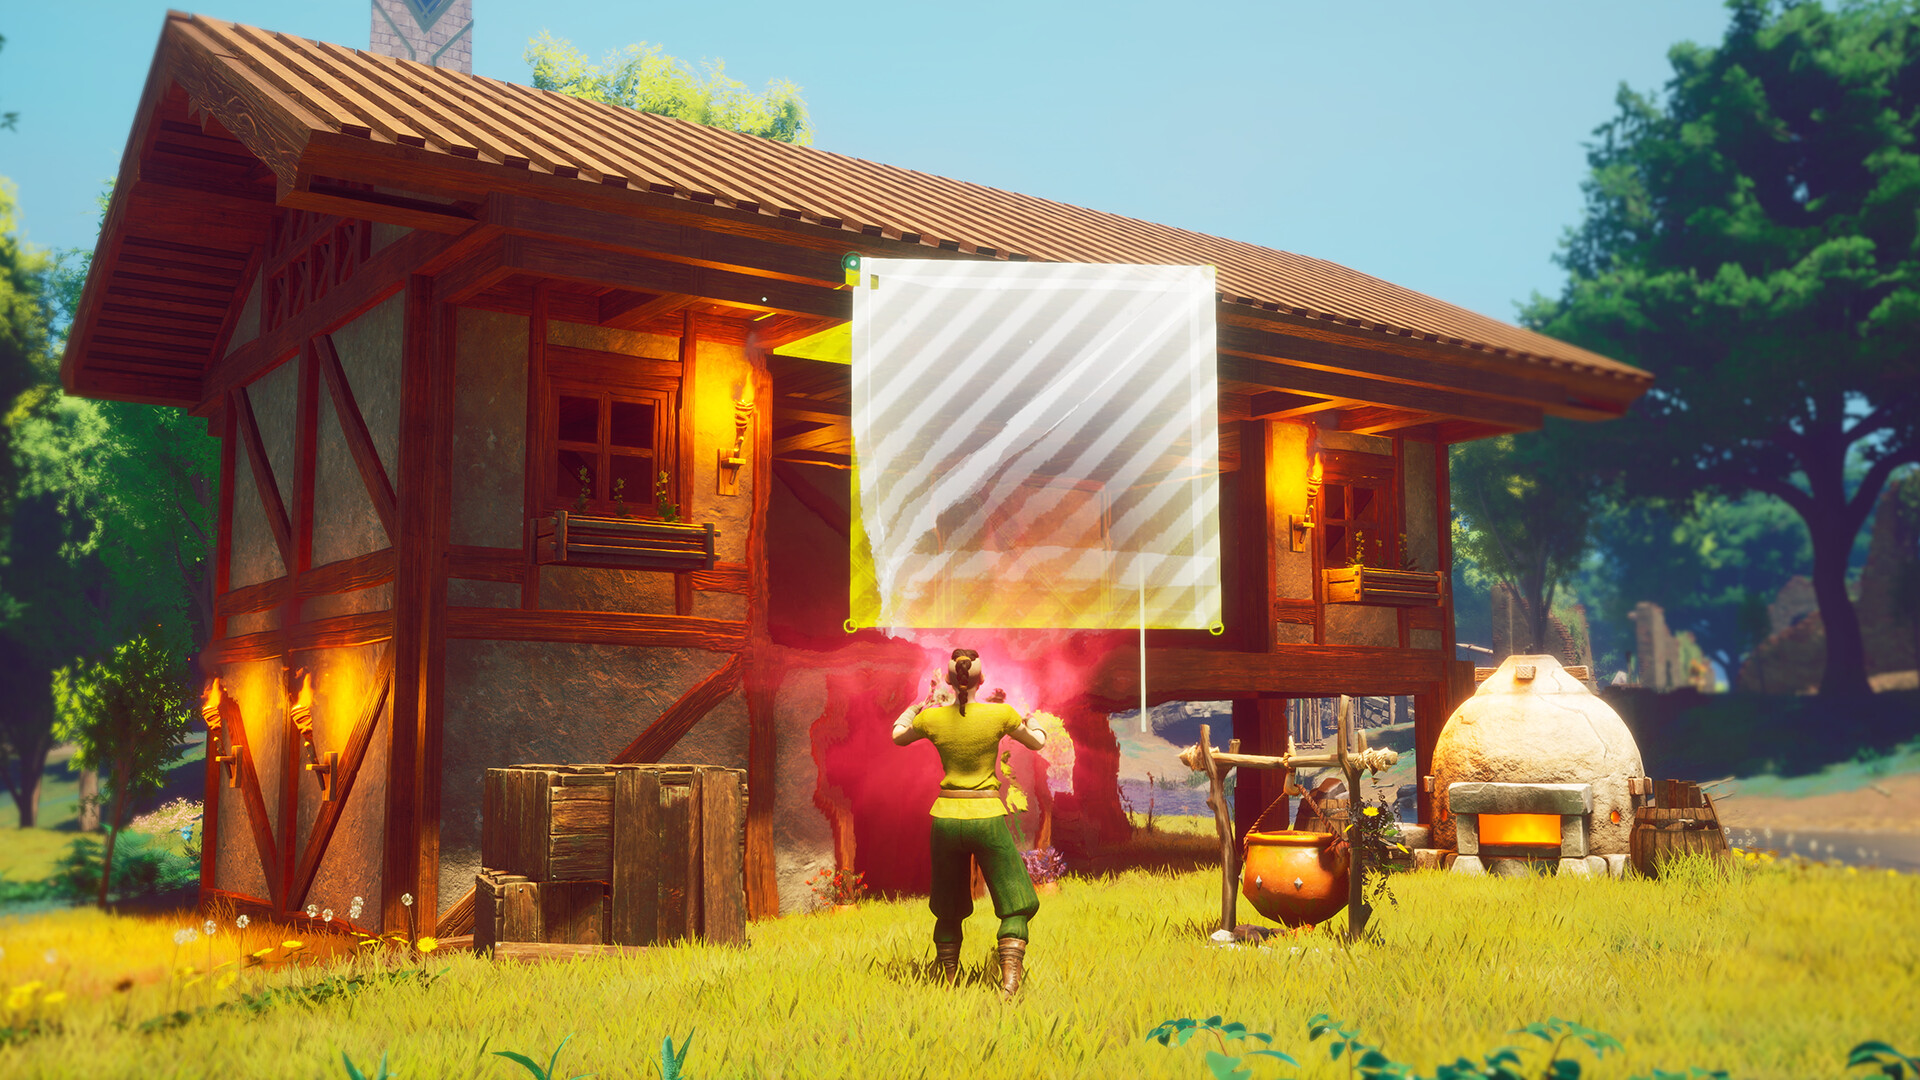
Construction in RuneScape: Dragonwilds ranges from a one-night shelter to a walled homestead with a dozen workstations. The system is forgiving — buildings snap together neatly, wrong walls cost little — but smart planning saves hours of hauling. This guide covers where to build, what to build first, and how to grow a camp into a proper base.
Choosing a site
Four factors decide a good first base location:
- Water nearby — hydration is a constant drain, and a river or lake next to your walls removes that errand entirely.
- Dense resources — you will make hundreds of trips to trees, stone and fiber; the closer the meadow, the faster the base grows.
- Safe approaches — southern Brynmoor is ideal for a first base. Avoid spawning yourself next to a goblin camp or a dragon patrol lane.
- Room to expand — farms, pastures and storage yards all need flat ground; claim more space than your first hut requires.
A riverbank in Temple Woods or Bramblemead Valley hits every criterion and remains viable deep into the mid-game.
The starter checklist
Your first base needs exactly five things, in this order:
- Campfire — cooked food and a rested bonus.
- Chest — a death-insurance stash for tools, food and spare gear.
- Bedroll or bed — sets your respawn point; never wander far without one placed.
- Walls, floor and door — weather and wildlife proofing; even a three-wall lean-to works on night one.
- Basic workbench tier — whatever your current crafting recipes demand, usually a crude workbench and then a Sawbench or equivalent.
Everything else is optimization. Resist the urge to build a manor before you own a furnace.
Workstations and how to arrange them
As recipes unlock, your base fills with stations. The mainline chain includes:
- Blacksmith Bench — metal weapons, tools and fittings.
- Armour Bench — protective gear in every material tier.
- Mystic Forge — elemental weapon enchantments.
- Rune Altar — rune essence to spell runes; the heart of your magic economy.
- Cooking Range — the upgrade path from campfire cooking.
- Furnace and Kiln — smelting ores and firing bricks/clay.
- Spinning Wheel and Loom — fiber into thread, thread into cloth.
- Tannery — hides into leather.
- Jeweler's Bench and Fletching Bench — accessories and ranged gear.
- Farming plots (1.0) — renewable crops.
Arrange stations by workflow, not by looks: smelting corner (Furnace, Kiln, Blacksmith), textile corner (Spinning Wheel, Loom, Tannery), a magic corner (Rune Altar, Mystic Forge), and a kitchen (Cooking Range, chests of food). Chests belong next to the station that consumes their contents — a food chest beside the Cooking Range saves hundreds of steps a session.
Full station-by-station recipes live in the crafting stations guide.
Storage strategy
Death drops your carried goods, so the base chest network is your real inventory. Three rules keep it sane:
- Chests by category — building mats, ores and bars, food, runes, gear sets.
- A "grab bag" chest — pre-packed expedition loadout (meals, water, ammo, essence) so re-equipping after a death takes seconds.
- Nothing precious loose — if it drops on death, it lives in a chest between uses.
Defense and lighting
Wildlife and raiders test your walls as you push into harder regions. Practical defense is cheap:
- A wall with one defensible door beats an open compound; funnel attackers.
- Torches and fire sources discourage some night spawns and mark your perimeter in storms.
- Height helps — a raised platform or second floor gives bows and spells safe sightlines.
- Keep the inside clear — pathing is your friend; a cluttered interior traps you as often as them.
When to relocate
Your first base is a beachhead. When Brynmoor's resources no longer excite you — usually as you gear up for Ghornfell — build a forward outpost rather than commuting. A minimal forward camp (bed, chest, campfire, Rune Altar) placed at the edge of the next region turns dangerous territory into a commute. Many players end the game with a base per region; Construction levels make the second and third ones dramatically faster than the first.
Related guides
- Keeping your survivors fed: Cooking & Food Guide
- Powering the magic corner: Runecrafting & Essence
- Region-by-region resource maps: Ashenfall Overview
The outpost pattern
Once your main base runs itself, the smartest Construction investment is the humble outpost: a bed, a chest, a campfire and — past the Rune Mysteries quest — a Rune Altar, placed at the edge of the next region you intend to work. The pattern turns every new territory into a commute instead of an expedition: deaths respawn nearby, hauls bank within minutes, and the dangerous middle game stops costing you recovery walks. Build outposts at the Ghornfell border, at the gates of Fellhollow, and at whatever oasis or delve entrance you plan to farm. Three outposts, each costing a fraction of your main base, will do more for your survival than any single upgrade to it.