Black Knight's Fortress Quest Walkthrough — Infiltrating the Order
Published 2026-09-20Updated 2026-09-218 min read
The Black Knight's Fortress quest in RuneScape: Dragonwilds — the Order's mountain operation, the Black Knight Titan, and a complete infiltration guide.
The Black Knights have reached Ashenfall, and their mountain fortress in Dowdun Reach is exactly as welcoming as the Order's reputation suggests. Black Knight's Fortress is the delve's flagship primary quest — a story of infiltration, a fortress that should not exist, and a confrontation with the Order's heaviest weapon. This guide covers the approach, the loadout, and the fight the quest is building toward.
Quest overview
| Detail | Info |
|---|---|
| Region | Dowdun Reach (the mountain delve) |
| Type | Primary quest |
| Requirements | The delve arc — post-Fellhollow progression |
| Recommended | Heavy armour, shield, anti-armour damage, control spells |
| Featured enemy | The Black Knight Titan |
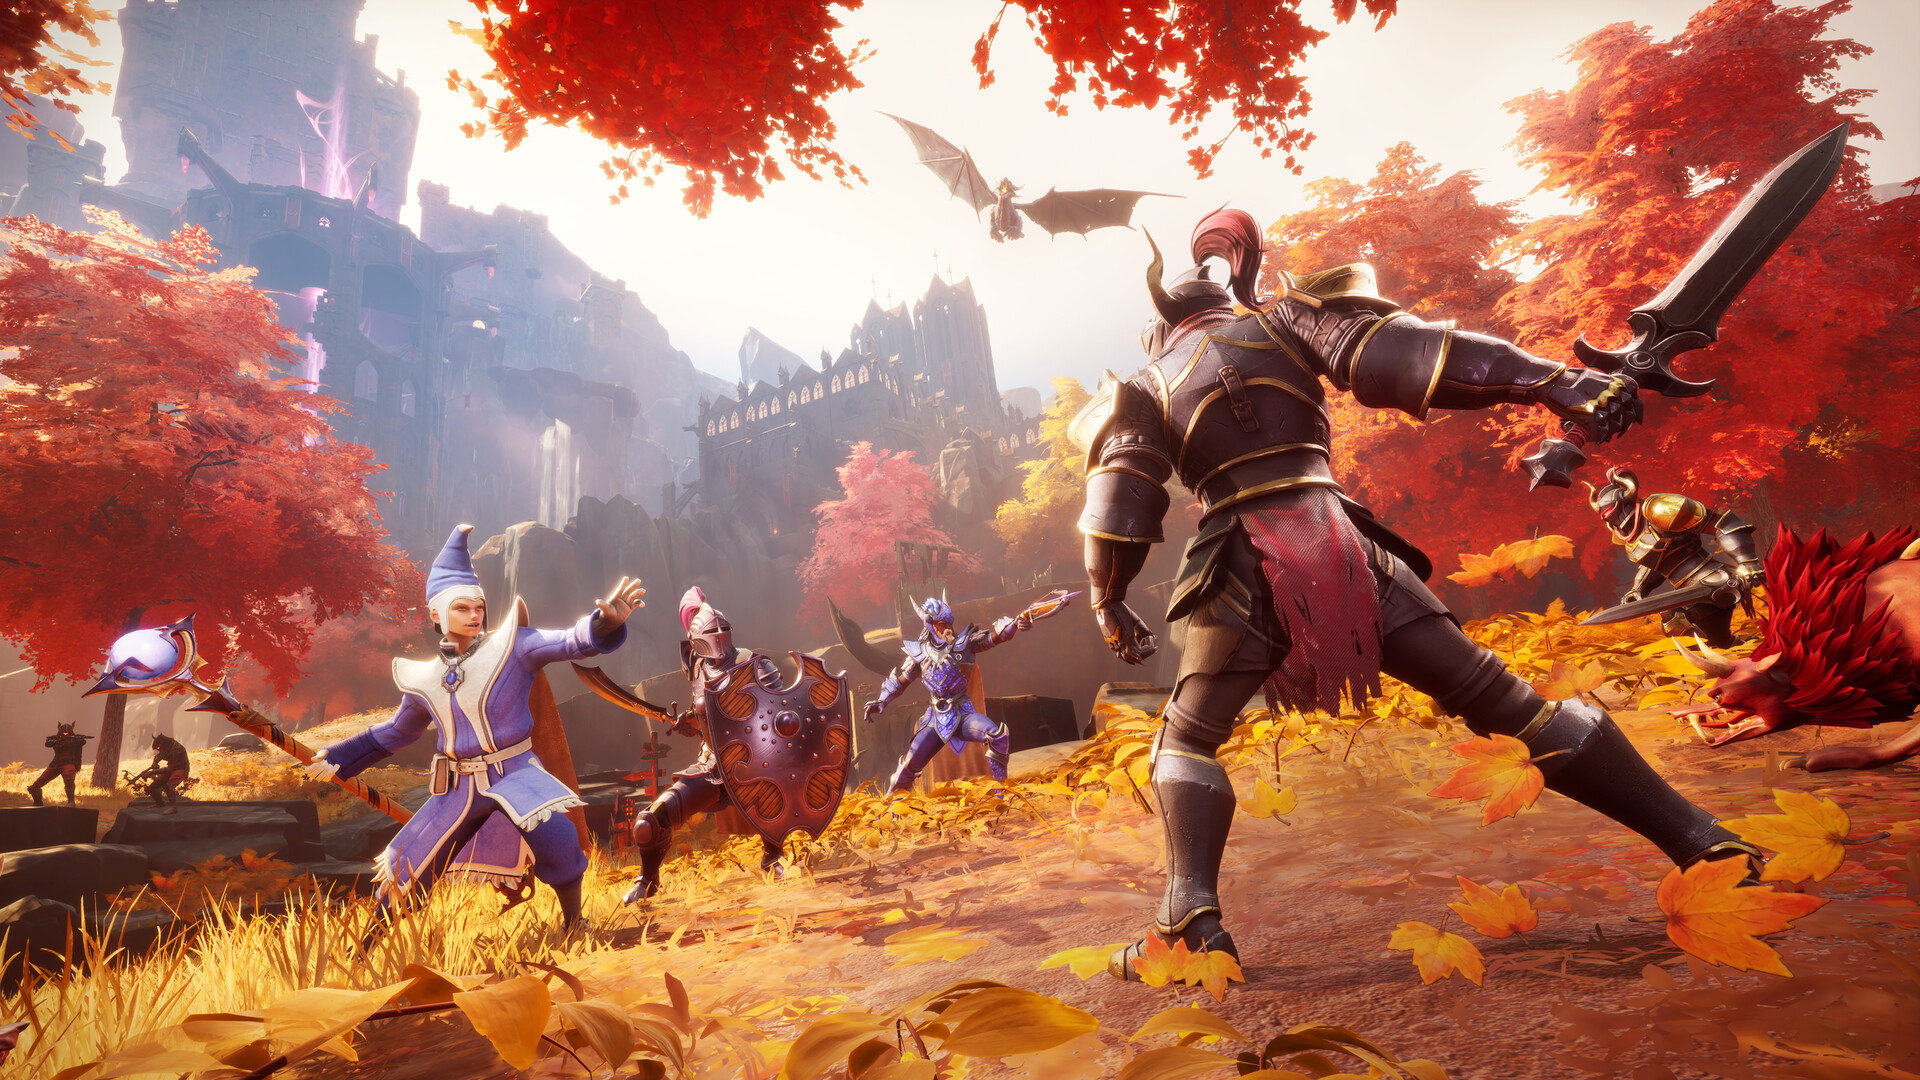
RuneScape veterans know the drill: wherever the Black Knights fortify, something loud is being built in the basement. Dragonwilds keeps the tradition — the fortress quest is the delve's martial spine, and it introduces the Order's local command structure, including the towering Lord Rasmodel — better known by his job title, the Black Knight Titan.
Getting to the fortress
The quest anchors in Dowdun Reach's military wings — the Garrison and the Bastion host the Order's operation, reached through the delve's standard approach: the cliff road of the Approach, the Courtyard, and the Nexus junction. If you have followed the delve, you already have a camp at the Nexus; if not, build one before starting — the fortress assumes a forward respawn and punishes optimism.
Route notes:
- The Approach and Courtyard are the warm-up. Standard delve patrols; walk their clock and they're scenery.
- The Garrison is the Order's ground. From the fortress quest's start, garrison patrols upgrade — tighter loops, faster response, and officers who call reinforcements. Fight in doorways and never with your back to a stairwell.
- The Bastion is the destination. The fortress proper rises at the delve's deep end; the quest's phases climb its floors.
The loadout that matters
The Order fights like a Roman cohort gone gothic: shields front, officers calling, formations that punish solo heroics. The counters:
- Anti-armour damage. Heavy plate shrugs chip damage; enchanted weapons, magic bursts and well-placed Vengeance earn their essence here.
- Control spells. Snare splits formations; Confuse turns the shield wall into a suggestion. Bring both stocked.
- A shield and patience. Blocking an officer's combo costs less stamina than dodging it twice — alternate and stay upright.
- Fire for the ranks. Rank-and-file knights burn like anyone else; area denial thins formations before they close.
The quest's shape
Without spoiling the beats, the fortress runs as a three-phase infiltration-to-confrontation:
- Phase one: get inside. The opening objectives thread you through the garrison's outer defenses — a stealth-flavored tour of the Order's operation and its purpose on Ashenfall.
- Phase two: the sabotage tour. The middle act sends you through the fortress's business end — workshops, command floors and the machinery of whatever the Order is building. Objectives alternate infiltration and open combat; both reward the corridor tactics the delve has been teaching.
- Phase three: the Titan. The finale is the fight the quest is named for: Lord Rasmodel, the Black Knight Titan — a wall of armor with opinions about trespassers.
Fighting the Black Knight Titan
The full strategy lives in our boss guides; the fortress-fight essentials:
- He is a siege engine in armor. His slams have long recoveries — the entire fight is dodge, punish, repeat.
- Stay off his front arc. His shield presses forward relentlessly; circle toward his weapon side and the swing arcs become your windows.
- The arena has pillars. Line-of-sight breaks his charges; heal on the far side of a column, never in the open.
- Magic and ranged dominate. The Titan's reach is melee; distance damage converts a brutal duel into a patient one.
Win, and the Order's mountain operation loses its head — with consequences that ripple into the desert arc and the campaign's final act.
Rewards and aftermath
The quest pays endgame-tier gear recipes, the delve's story dividends, and progress toward the continent's final confrontation. It also pairs perfectly with Dowdun's side slate — Mirror, Mirror, Biohazard and Wanted! all orbit the same wings; the Side Quests Hub sorts them.
Garrison patrol notes
The Order's garrison runs on schedules, and the schedules are learnable. Outer-ring patrols walk fixed loops with a pause at each corner — the pause is the crossing window. The garrison's officers respond to noise in pairs, never alone, which makes single-pull tactics useless: engage officers only at choke points where their partner files in behind them. And the fortress's own alarm discipline works in your favor — patrols that spot you run to raise the cry, which means ranged kills before the runner breaks line-of-sight keep entire wings quiet. Stealth in the fortress isn't a personality choice; it's arithmetic. Every silent corridor is food and repair bills you didn't spend.
Frequently asked questions
Do I need a group for the Titan? No — he's tuned solo-viable with vault-grade gear, but a second player who draws aggro during heals roughly halves the difficulty.
Is stealth mandatory in the infiltration phases? No — the quest permits loud entries, but the garrison's response scales with noise. Quiet approaches are simply cheaper in food and repairs.
What's the best single prep purchase? Control spells fully stocked. Every phase of the fortress — patrols, sabotage, Titan — bends over a well-timed Snare.